
Wiki
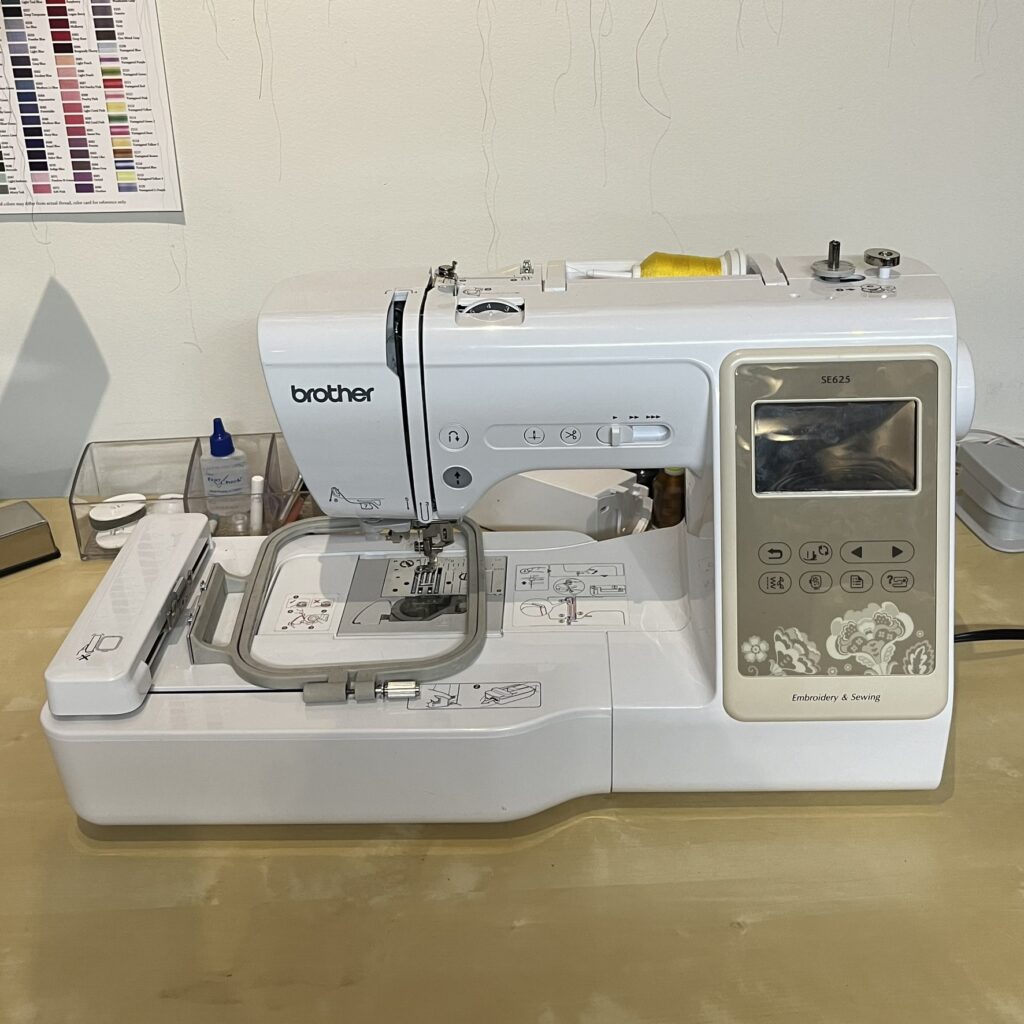
Brother SE 625
Overview
| Name: Brother |
| Location: Textile Area |
| Status: Operational |
| Training: Required |
| Slack Channel: #help-textiles-arts-and-crafts |
| Owner: Justin Nesselrotte |
Training
Training is required. The training only covers this machine, if you want to use the Elna embroidery machine, you must complete a separate training. Reach out in the slack channel to schedule a training.
Operation
There are two main parts to machine embroidery: digitizing designs and sewing fabric. This guide is intended for the latter. It is recommended to start embroidery with a design that is already digitized, so that you can learn about threads, fabrics, and stitch types.
Safety
- Do not operate the embroidery machine and leave it unattended! You must be present while the machine is in use.
- Do not use the embroidery machine if there is visible or audible damage.
- Turn off the machine when attaching or removing parts like the needle(s), etc.
- Turn off the machine when threading or cleaning the machine.
- Turn off the machine when leaving the machine.
Setup
The machine has a power cord that plugs into the right side of the machine. The power button is located above this.
Before turning on the machine, change the needle if necessary. Insert a bobbin. If there isn’t already a bobbin with thread on it or you want a different color bobbin, then you will need to wind one (tutorial video).
- Make sure the bobbin is at least one-quarter full before beginning.
- Remove the clear plastic lid below the needle that houses the bobbin. Insert the bobbin while holding the thread. IMPORTANT: the thread direction must be facing counterclockwise or this will not work. Push the thread around the gray plastic corner, up towards the next corner, and towards the small blade. Pull the thread against the blade to cut it, and it will be loaded.
Once the bobbin is in, thread the machine. The machine is labeled with numbers for pulling your thread through to the needle. If you follow the numbers carefully, the machine will pull it through the eye of the needle automatically. If you need help watch this video. Follow these tips for successfully threading the machine.
- Make sure the thread isn’t getting stuck in any part of the process. It should pull through with very little resistance/tension. If the thread is a heavy weight, then you may need to increase the dial on the top of the machine. Higher number = less tension. If this number is too high, your thread will form knots and the embroidery will fail. Generally keep this number between 2-5.
- On step 6 and 7, make sure the thread is pushed into the notches. This part is key for the auto-needle threading.
- After cutting the excess thread away on step 8, make sure the foot is lowered before threading the needle
- Slowly pull down the tab on the left side of the machine (step 9), and watch as the thread goes through the eye of the needle. Pull the end of the thread all the way through the eye.
Select your interfacing and cut it so that the interfacing is larger than the hoop.
If you need to cut fabric for your project, then you will need to do that next. If you are embroidering an item like a shirt or bag then you don’t need to worry about this step.
Place the stabilizer over the outer hoop, then set the fabric or item over the stabilizer. Insert the inner hoop, stretch the fabric taut, then tighten the screw on the outer hoop. Line up the hoop into the hoop supporter and slide it into place.
Usage
Once you’ve inserted a bobbin, threaded the machine, and put the hoop in place. Turn on the machine. Use the LCD touch panel to find the file you created on the computer or select a preprogrammed design you want to embroider. Files need to be .PES and fit within 4″ x 4″.
Once you press start, the machine will start running. The machine will stop once it has finished with your design or the current color. If your design uses multiple colors you will have to manually change it each time and press start to continue the design.
Monitoring
- Pay attention to what you and the machine are doing.
- Do not leave the machine running and unattended. You must be present while the machine is in use.
- Make sure that the stitches are forming and that everything is running smoothly.
- Keep an eye out for the needle breaking.
- If the machine makes any weird noises, stop using it and report it in the slack channel.
- If the machine is not functioning properly, report it in the slack channel.
Shutdown & Cleanup
Detailed instructions for how to shut down the machine, where to put things away, specific cleanup steps.
Troubleshooting
| Symptom | Cause | Solution |
|---|---|---|
Accessories
The Brother has one hoop, needles, bobbins, a spool cap, and tweezers… All of these are stored in the large desk drawer under the machine. The small accessories are kept in a clear plastic box.
Materials
The materials needed for embroidering are fabric, stabilizer, and thread. For more specific information
Files & Resources
This section is for links to things like:
- Brother SE625 User Manual
- How to Wind a Bobbin
- How to Thread Your Machine
- How to Adjust the Thread Tension
Specifications
| Name | Brother |
| Manufacturer | Brother |
| Year Released | |
| Model | SE 625 |
| Serial No. | U64809-E7P175710 |
| Software | Preprogrammed and Hatch Embroidery |
| Largest Work Area | 4″ x 4″ |
| Number of Needles & Type | 1 needle, 15 x 1ST Size 11 |
History
- On loan from Justin Nesselrotte since