Wiki
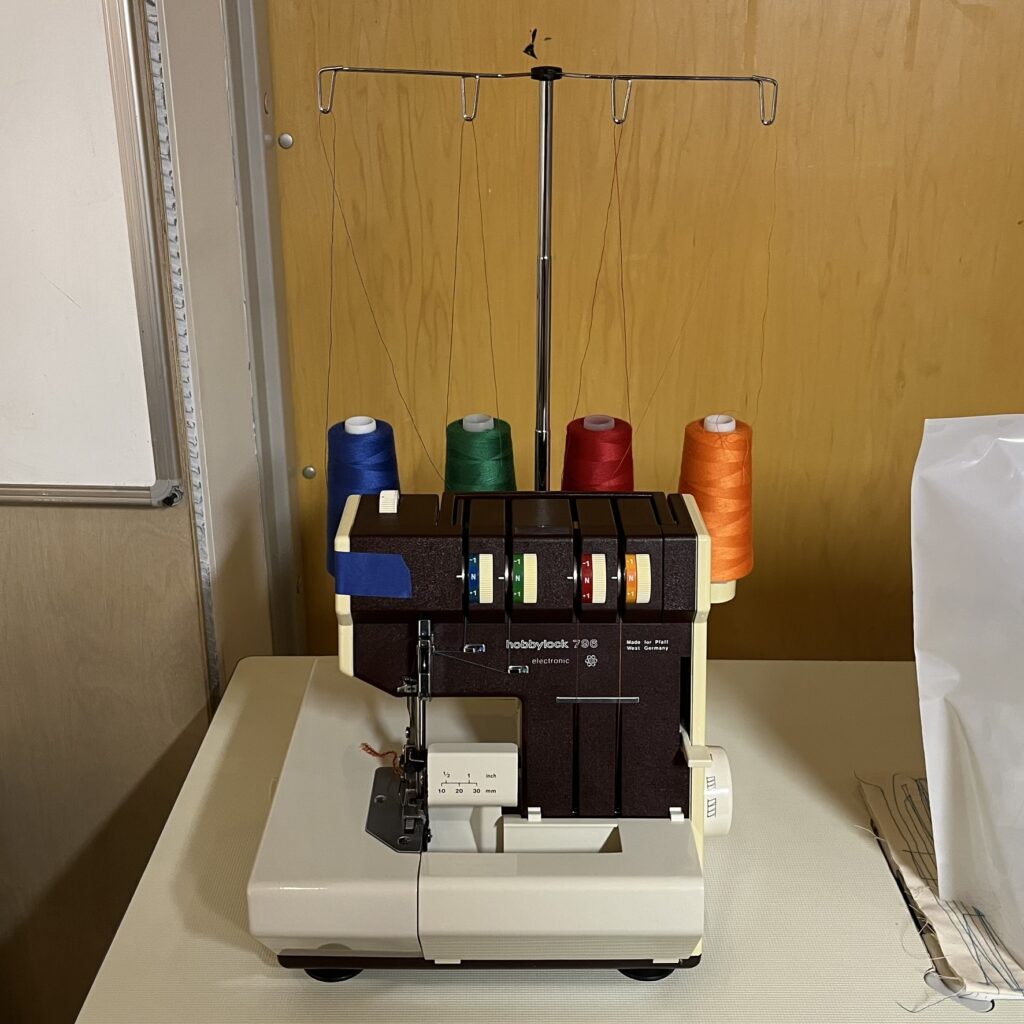
Hobbylock 796
Overview
| Name: Hobbylock |
| Location: Textile Area |
| Status: Operational |
| Training: Required |
| Slack Channel: #help-textiles-arts-and crafts |
| Owner: denhac |

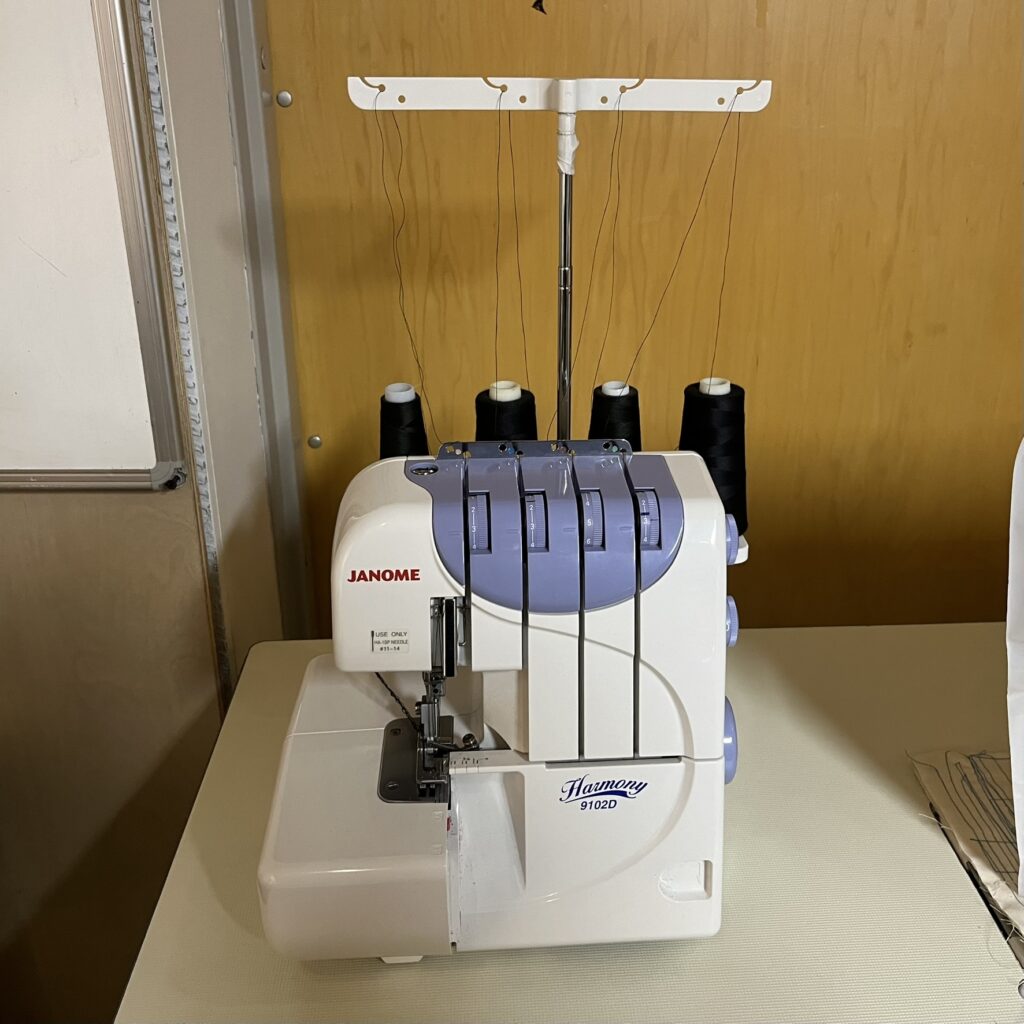
Janome 9102D
Overview
| Name: Janome |
| Location: Textile Area |
| Status: Operational |
| Training: Required |
| Slack Channel: #help-textiles-arts-and-crafts |
| Owner: Kathleen Norman |

Training
Training is required. The current serger training covers both the Hobbylock and the Janome. Reach out in the slack channel to schedule a training.
Operation
A serger or overlocker uses multiple threads and has a knife to trim, sew, and finish seams and raw edges in one step. Both sergers can be used with three or four threads.
Safety
- Do not use the serger sewing machine if there is visible or audible damage.
- While in operation, always keep your eye on the sewing area, and do not touch any moving parts such as the thread take-up lever, loopers, handwheel, needles, or knives.
- Turn off the machine when attaching or removing parts like the needle(s), knives, etc.
- Turn off the machine when threading or cleaning the machine.
- Do not attempt to sew over pins! If you are using pins, make sure to remove them before they reach the presser foot.
Setup
Each machine has a power cord with a foot controller that should get plugged into the machine and a power outlet. The power cord for the Hobbylock plugs into the back of the machine. On the right side of the machine, there is a push button to power on the machine. The power cord for the Jamone plugs into the right side of the machine next to the power switch.
Before turning on the machine, change the needle(s) if necessary and make sure the machine is properly threaded. Thread the machine if necessary. If the machine is threaded but you need to change the thread color either cut the thread at the cone and tie on new thread or rethread the machine with the desired thread.
Adjust the stitch length, differential feed ratio, upper knife, and cutting width if necessary. On the Jamone set the needle plate setting knob to S (standard serging) or R (rolled hemming).
Usage
Once the machine is threaded and you’ve adjusted the settings for your project, turn on the machine.
If there is no chain on the sewing plate, gently press the foot control and loosely hold on to the threads to make the start of a chain.
Insert the fabric under the toe of the presser foot and gently press on the foot control. The fabric will be automatically fed. Guide the fabric in the desired direction.
When stitching is completed, continue to run the machine slowly to produce a thread chain. You want there to leave a thread chain on the end of your piece as well as leave some shain for the start of the next.
Secure the serged ends.
Monitoring
- Pay attention to what you are doing as you sew.
- Don’t let pins go under the presser foot; this is especially dangerous given the speed of the machine.
- Make sure that the stitches are forming and that you haven’t run out of bobbin thread or that your needle came unthreaded.
- Keep an eye out for needles breaking.
- If the machine makes a significant amount of noise or any weird noises, stop using it and report it in the slack channel.
Shutdown & Cleanup
- Power off the machine.
- Sergers generate a lot of lint and fabric scraps. Please discard all cutting scraps and brush out the bottom of the machine after using it.
- If there are thread and cuttings on the floor vacuum them up.
- Empty the trash when it gets full.
Troubleshooting
| Symptom | Cause | Solution |
|---|---|---|
| There are only stitch lines on the fabric; the threads aren’t chaining | One of the loopers has become unthreaded | Re-thread the looper that isn’t threaded, and then re-thread your needles |
| The overlock doesn’t look right, threads aren’t where they are supposed to be | At least one of the tension discs needs to be increased or decreased | Adjust the tension discs, one at a time until you achieve the desired effect |
| One of the threads is super loose and increasing the tension doesn’t fix it | The thread is not actually between the tension discs, but resting on top of them | Pull the thread into the tension discs |
Accessories
The Hobbylock has a small accessories box that is housed inside the machine: swing the left side open and find the box in the back. Accessories include a needles, screwdriver, allen wrench, lint brush, tweezers, lower knife, thread unreeling disk, and rolled hem presser foot. This machine also has a lint box that attaches to the front of the machine.
The Jamone also has accessories and these are stored in a ziplock bag next to the machine. The accessories include needles, screwdrivers, tweezers, and a lint brush.
Materials
A home serger can handle a variety of fabrics: stretch, knits, and light- to heavyweight wovens. Reference the Thred and Needle chart (pg 60 of the Jamone Manual) before starting a project to make sure you use the right materials, needles, and machine settings.
Files & Resources
- Hobbylock Manual
- Jamone Manual
- How to Thread and Use a Serger
- Basic How to Guide with Video
- Tips for Working with a Serger
Specifications
| Name | Hobbylock | Janome |
| Manufacturer | Pfaff | Janome |
| Year Released | ||
| Model | Hobbylock 796 | Harmony 9102D |
| Serial No. | 24331 | 530112914 |
| Software | ||
| Other | four-thread or three-thread overlock | four-thread or three-thread overlock |
History
- Pfaff Hobbylock 796 donated by David Stavis, February 2024
- Jamone Harmony 9102D on loan from Kathleen Norman since February 2024
