
Wiki
Resin printing requires different settings per-resin and per-printer. This doc has both:
- Specific settings for certain resins on the Saturn 4 Ultra printer, and
- how to make and tune new resin profiles.
- Using the calibration mode on the Saturn 4 Ultra (see bottom).
Premade profiles
| Resin | Layer Thickness | # Burn Layers | Burn Cure Time | Layer Cure Time | Rest Time after Retract |
|---|---|---|---|---|---|
| Elegoo ABS-Like 3.0 Gray | 0.05mm | 5 | 35s | 2.3s | 2s |
| Elegoo ABS-Like 3.0 Black | 0.05mm | 5 | 60s | 4s | 2s |
Common profile settings can be found on the Elegoo site.
Explanation
Resin profiles have three main parts:
- Thickness (of each exposed layers of resin),
- Movement (how the printer moves the build plate) and
- Exposure (how long each layer is exposed to UV light)
Exposure are controlled separately for normal layers and burn layers, as is Movement on some printers. Burn layers are the first few layers of your print, which are intentionally overexposed to be absolutely sure your model sticks to the print bed.
Thickness
Each resin profile is tuned for a certain thickness; changing the layer thickness will require changes to the other settings. The Saturn 4 Ultra can in theory go down to 10 micron (0.01mm) layers.
Movement
How fast and how much the build plate is moved affects the quality of your print. There’s ongoing debate about what is “best”, but our experience is that pulling the build plate up quickly pops the just-cured layer off the bed without bending it. Aside from that, all that matters is that the build plate is moved far enough away to fully pull the print off the film.
On the Saturn 4 Ultra movement is mostly handled automatically, without the ability to set retracting speed directly, with the vat having a mechanical retracting mechanism to move it away from the build plate. Rather than speeds rest times can be configured. The settings that can be adjusted vary by slicer, but Chitubox allows changing:
| Setting | Default | Recommended (WIP) |
| Rest time before release | 0s | 0s? |
| Rest time after release | 0s | 0s? |
| Rest time after retract | 1s | 2s (maybe 10s for burn-in layers, but they can’t be configured separately) |
I’ve found that since Chitubox doesn’t allow editing the rest time just for the burn in layers, the default scan be too short resulting in under-thicknessed burn-in layers. This doesn’t matter much if they’re supports, but for directly printed models can make a difference. The delay between layers helps the resin cool down.
Exposure
Arguably the most important part of the profile. Underexposing resin will cause your print to lose its shape and eventually fail. Overexposing resin will cause excess resin to stick to your part and stay behind in the bed, ruining the finish of your part and wasting resin. Dark and clear resins usually take longer to cure.
How this fits together
The complete process of a print:
For the first # Burn Layers layers:
- Build plate moves up by Thickness mm,
- layer is exposed for Burn Cure Time ms,
- build plate moves up by Burn Up Height mm at Burn Up Speed mm/min,
- build plate moves back down by Burn Up Height – Thickness mm at Down Speed mm/min,
- printer waits for Delay ms,
- and repeat.
For the remaining layers:
- Build plate moves up by Thickness mm,
- layer is exposed for Cure Time ms,
- build plate moves up by Burn Up Height mm at Up Speed mm/min,
- build plate moves back down by Up Height – Thickness mm at Down Speed mm/min,
- printer waits for Delay ms,
- and repeat.
How to tune
From scratch
Starting from an existing resin’s values or using the resin’s recommended settings, along with running a calibration print, is recommended.
Elegoo’s official settings for their printers & their own resins, as well as google-form submitted customer settings can be found on the Elegoo website.
Dialing in
Much like filament 3D printing, you should tune in response to problems: either your print is failing, or the surface quality is poor. A list of common symptoms is given below.
| If | then |
|---|---|
| the print does not solidify, staying liquid | increase Cure Time |
| excess resin is left in the bed, or sticks to the print | decrease Cure Time |
| the print falls off the build plate | increase # Burn Layers (1st) then Burn Cure Time (2nd) |
Shortcuts
There are models specifically designed to quickly tune a resin profile. The one we’ve had the most success with is The Cones of Calibration. This model has a series of columns, consisting of a cone, a narrow cylinder, then an upside-down cone. Each column has a progressively-smaller cylinder.
When the cure time is too high, all ten of the columns will print successfully. The five smallest columns (on the side labeled “Failure”) are intended to fail, and will only succeed if excess resin is being cured by a too-long Cure Time. On the other hand, if the Cure Time is too short, then the five larger columns (on the side labeled “Success”) will start to fail.
If the Cure Time is just right, then all five of the “Success” columns will print correctly but none of the “Failure” columns will.
Small changes in the Cure Time will make a difference. If the result is close, then changes of as little as 100 ms will make a difference.
Calibration Mode on Saturn 4 Ultra
The cones of calibration can be used in the resin calibration mode to expose a print bed to 6 or 8 different settings in one print job.
The TableFlipFoundary has a good overview of reading the results from the cones, and this video goes over printing multiple tests on the Saturn 4 Ultra.
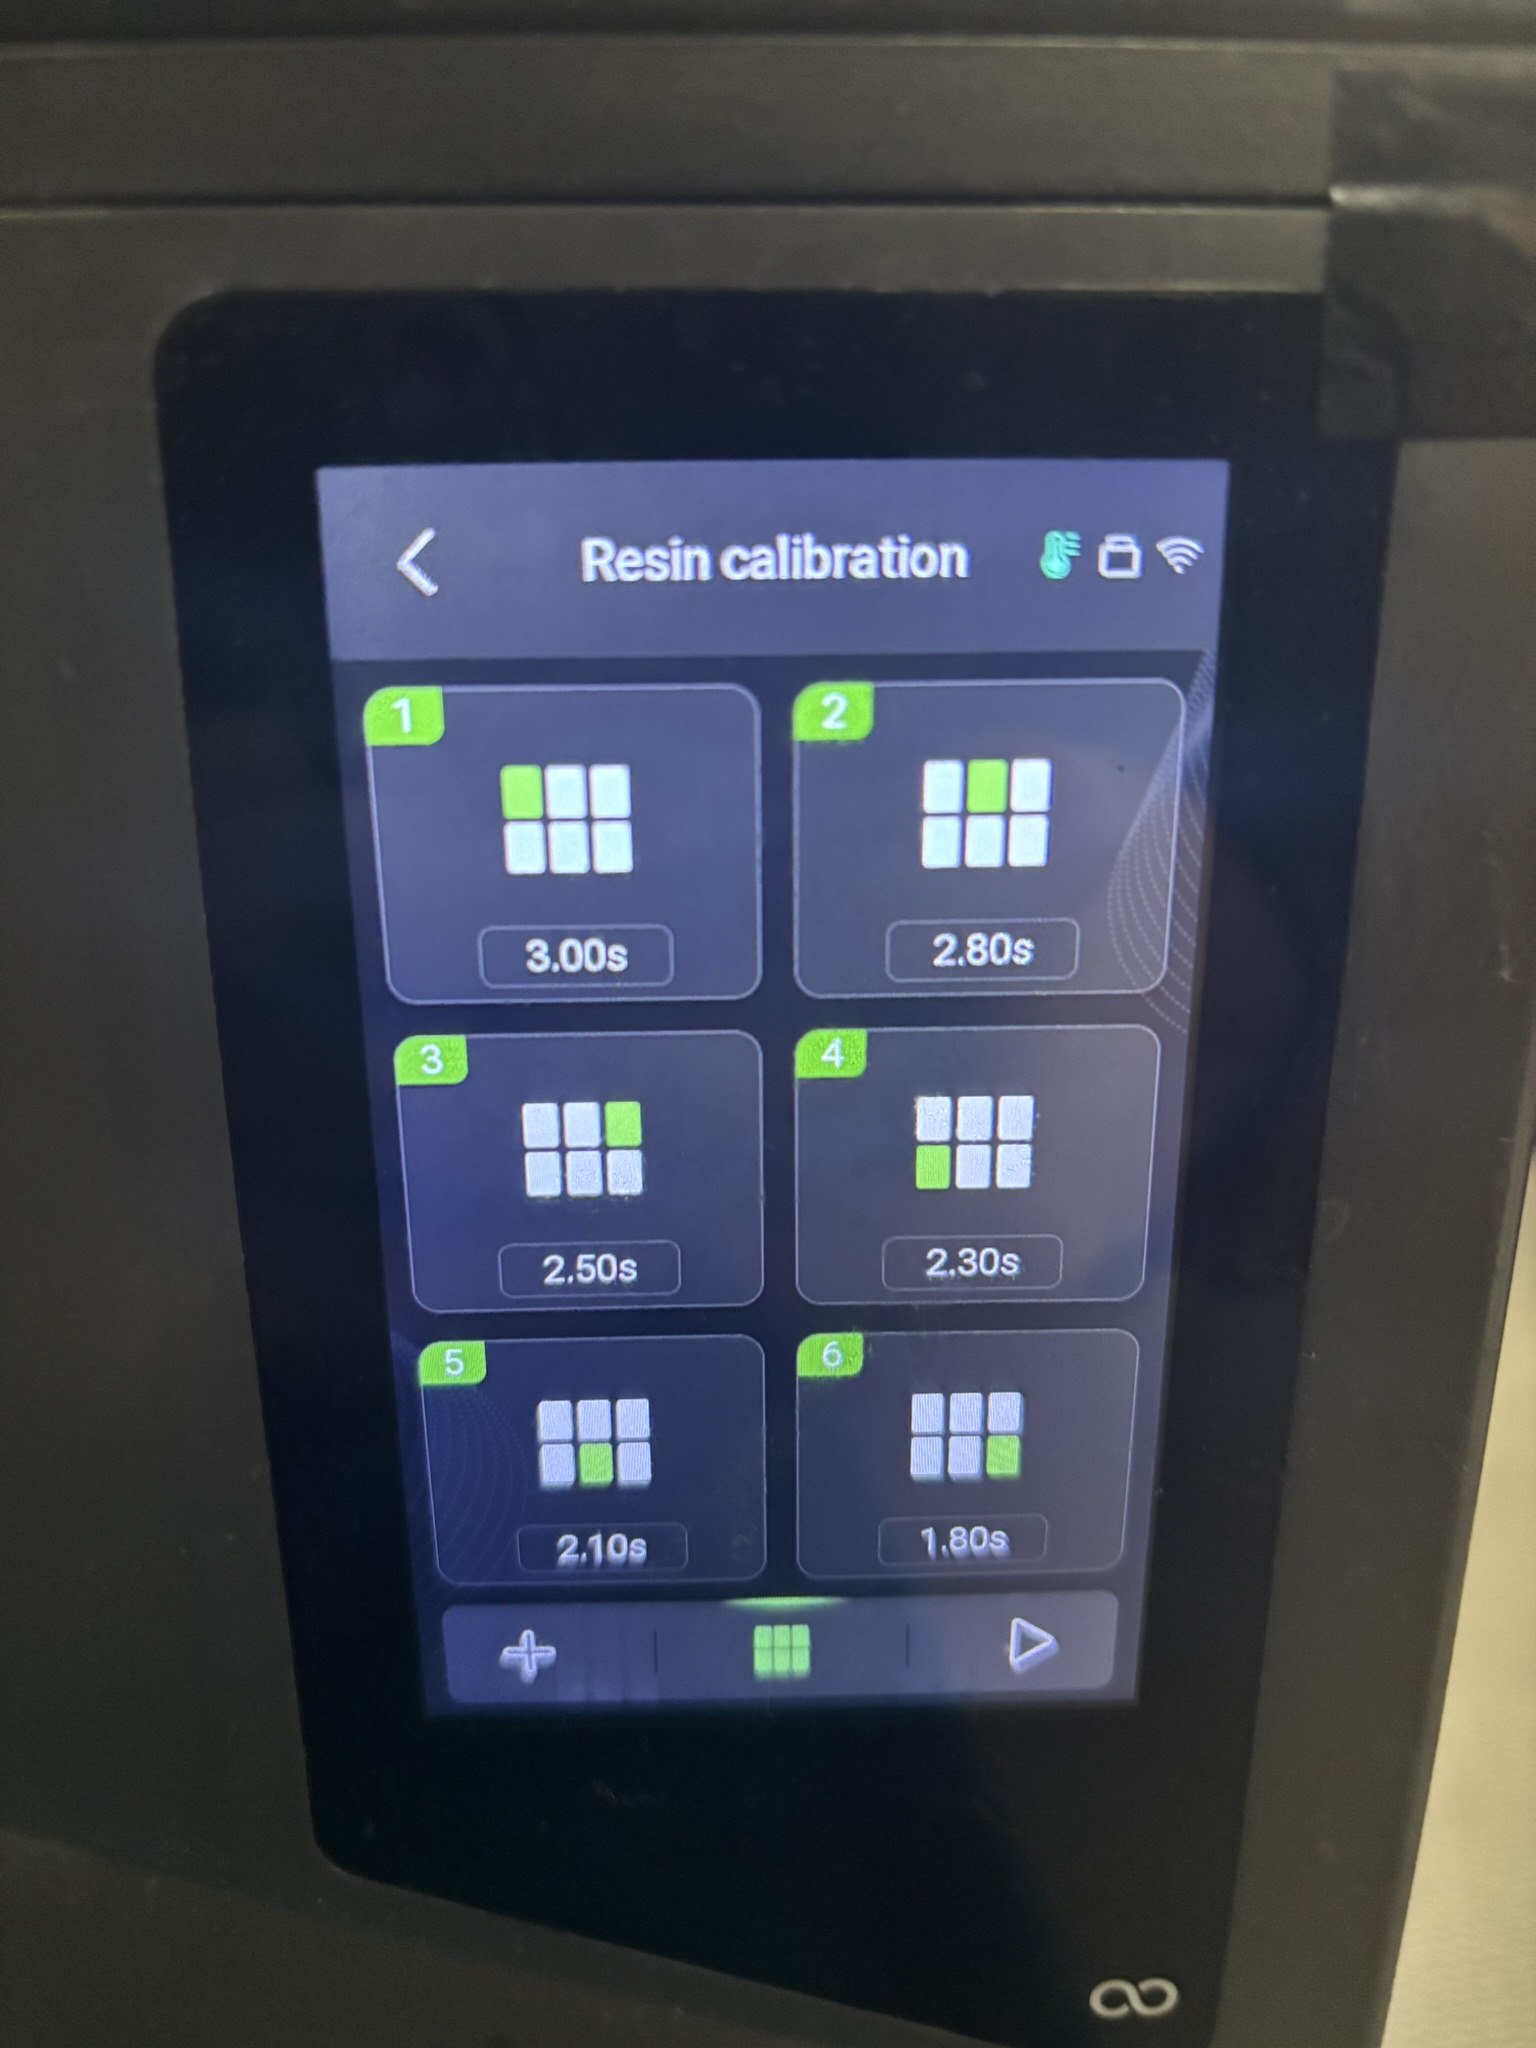
The Resin Calibration screen allows you to break up the exposure settings by zone of the screen, selecting up to 8 zones. In the above photo 6 zones are selected ranging from 1.8s to 3.0s. The print file must have multiple copies of the print set into each zone.
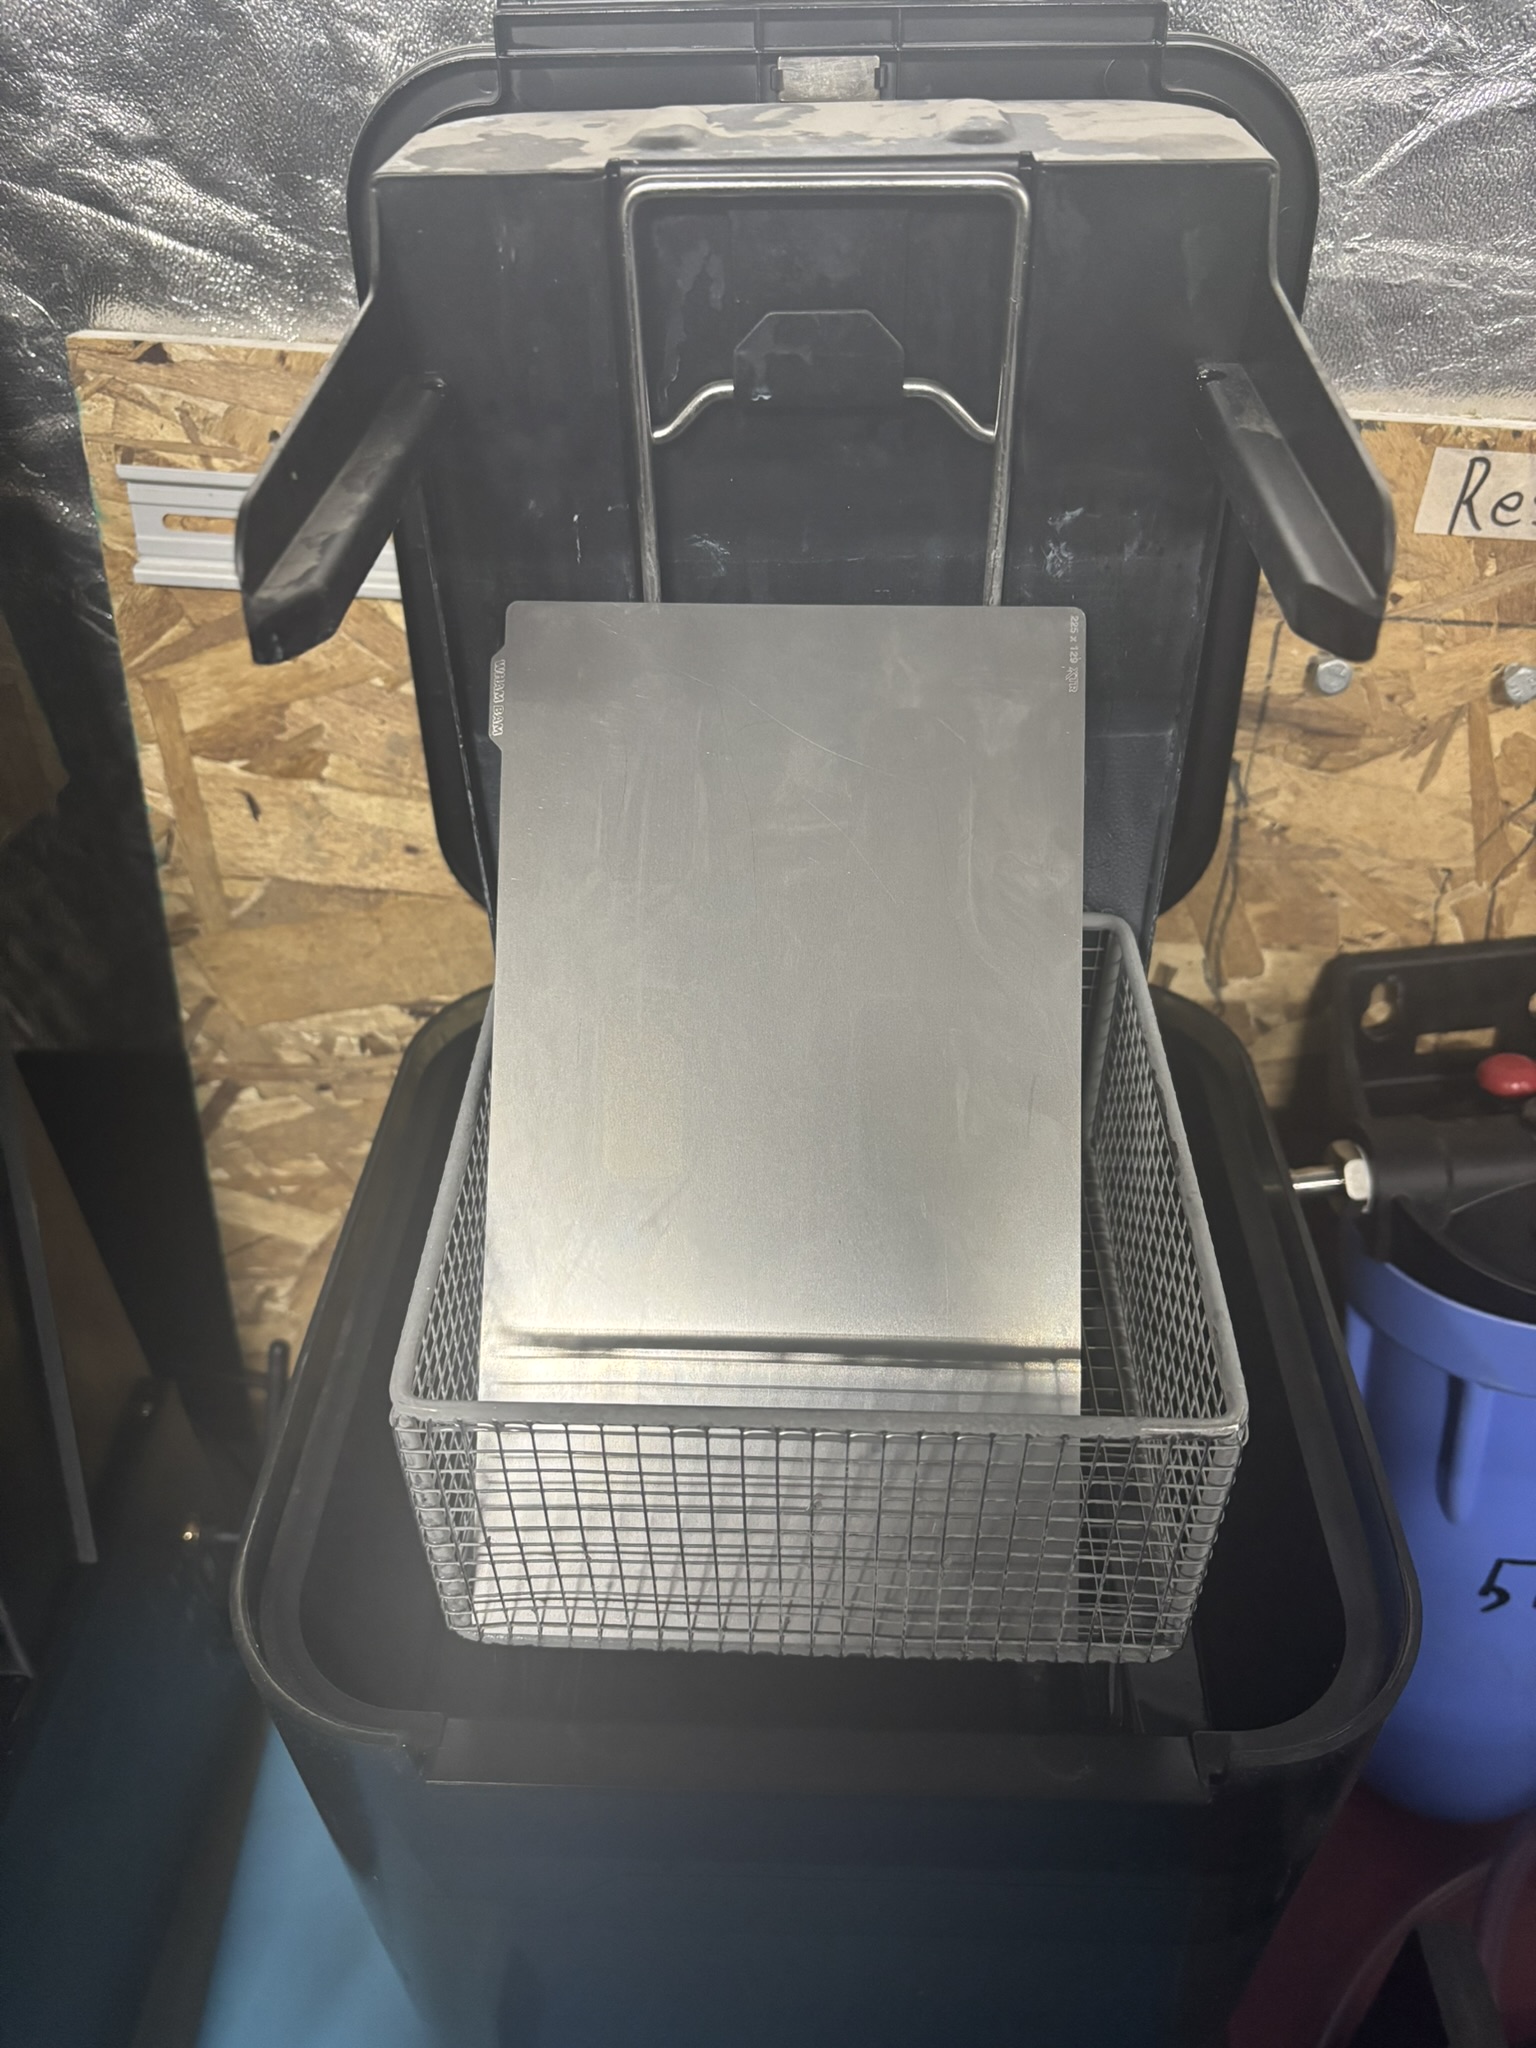
When running a calibration print it can be easy to lose track of which print corresponds to which setting – in this case you can leave the prints on the magnetic flex plate and place the whole plat face down into the formlabs wash station.

Similarly, the magnetic flex plate fits perfecting into the cure station.